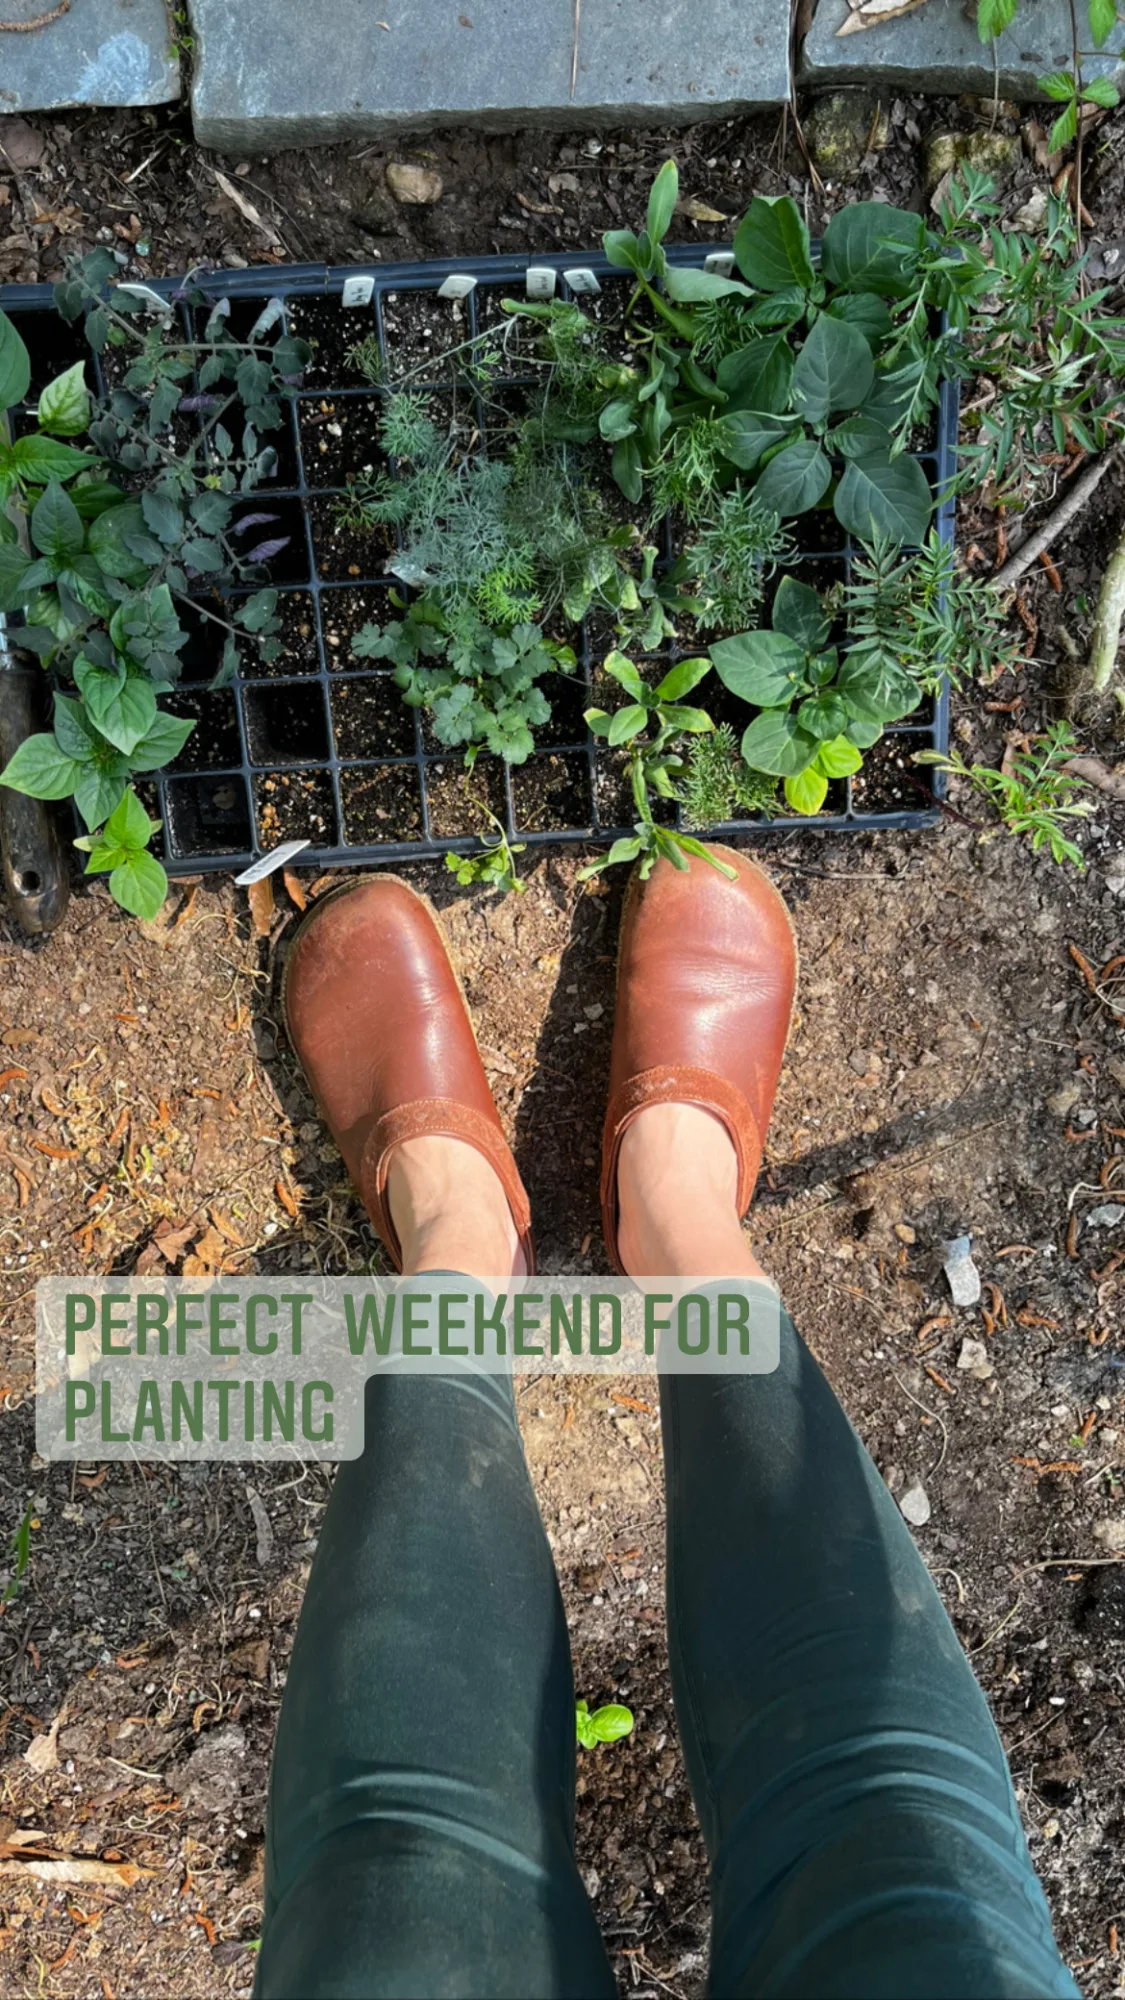
Before we jump in, I’d like to make sure we are on the same page with some terms.
When I say transplant, I’m speaking of a plant that was started from seed, inside and grown until it is ready to be transplanted into the garden. The seed sprouts and grows in a protected environment until it is large enough to be transplanted outside.
When I say seedling, I’m speaking of a plant that has just emerged from the soil and is still in the very early stages of growth. Seedlings aren’t always transplants. You can have a seedling in the garden. However, transplants always start as seedlings.
When I mention direct seeding, I am referring to planting seeds directly into your garden.
Also, I go solo on the pod and talk about all of this. If listening is more your style, check it out.
First, Is it necessary?
To have a garden at home, you don’t have to start seeds indoors or in a greenhouse. Local feed and seed stores, farmers co-ops, plant nurseries, and big box stores will all have young garden plants (transplants) that you can purchase and plant in your garden space. In these stores you will usually find lettuces, broccoli, cabbage, different types of herbs, a few varieties of tomatoes, and some peppers. If you add these transplants with the crops you can direct seed into your garden – crops like beans, squash, peas, greens, radishes, carrots, potatoes – then you can understand why I said you don’t have to grow your own transplants. In fact, I’d wager that most home gardeners do not start their own seed indoors nor do they need to.
However, there are good reasons that a home gardener might choose to grow their own transplants. We choose to grow our own because almost all of the varieties we prefer to grow are unavailable in our local stores. If I want to grow a “Striped German” tomato, or “Lacinato” kale, I have to buy the seed and start it myself. The other reason we choose to grow our own transplants is that if we were to purchase them, it would be really cost prohibitive. A single vegetable transplant purchased at a store can cost between $3 – $6. I can grow 40+ transplants for that price.
What Needs Transplanting?
There are some plants that can be direct seeded into your garden, others need to be grown as transplants, and then there are some that it just depends.
Generally speaking, all root crops are direct seeded into the garden. This includes radishes, carrots, beets, and parsnips. Crops with large seeds are also usually direct seeded into the garden. These include corn, okra, peas, and beans. Crops that have long growing periods before reaching maturity are usually transplanted. This includes tomatoes, peppers, eggplant, brocolli, Brussel sprouts, and cabbage. Herbs are generally either/or.
Generally speaking, here are the crops you can direct seed into your garden: radishes, carrots, arugula, peas, beans, corn, okra, potatoes, squash, cucumbers, turnips, collards, spinach, leaf lettuce, melons.
And, here are some crops you will need to transplant into your garden: Tomatoes, peppers, eggplant, cabbage, kale, broccoli, brussel sprouts, cauliflower.
Benefits of Starting Seeds Inside
There are two primary benefits of starting seeds indoors as opposed to starting them outside in the garden. Seedlings are very vulnerable. Weather, bugs, rodents, and disease are all intent on preventing your precious seedlings from growing in the garden. When starting indoors, you don’t have to worry about these problems until much later, when your seedlings have matured are are much less vulnerable.
Also, when starting seeds indoors, you can start much earlier than what your climate normally allows. For example, if I waited until the soil was warm enough to direct seed tomatoes into the garden, I would be putting the first seed in the ground in May and wouldn’t be harvesting tomatoes until August at the very earliest. But if I start indoors, I can have my transplants in the ground in mid April and start harvesting tomatoes by June. That’s two extra months of BLTs with my ‘maters in them.
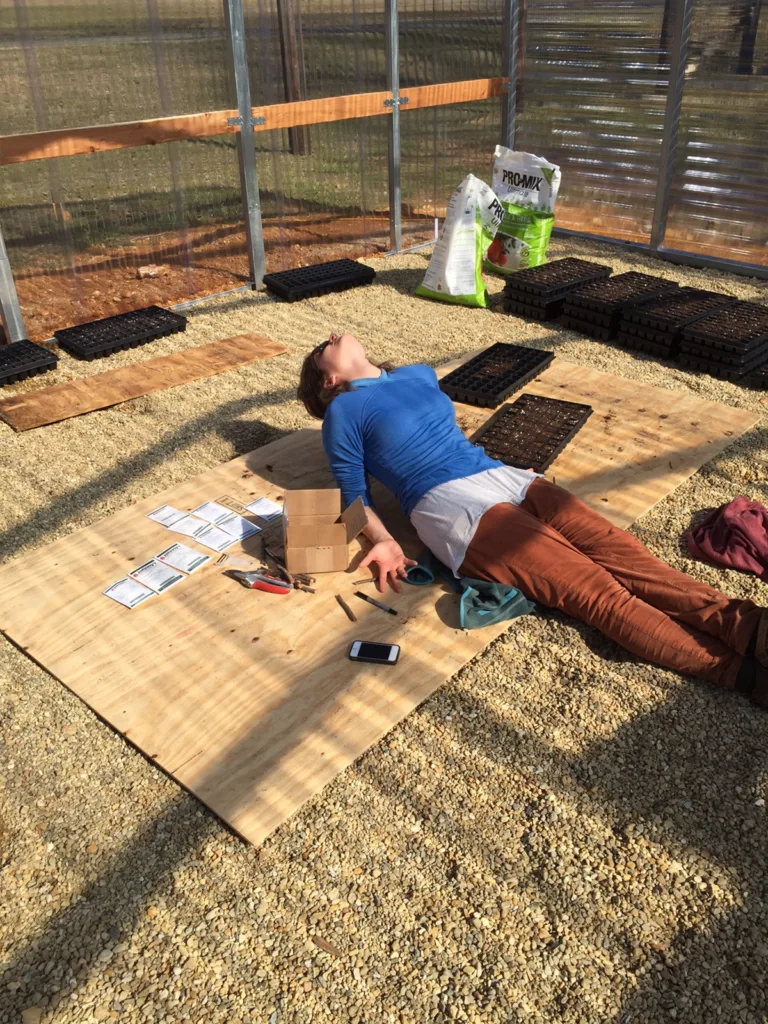
How we start our seeds:
(Before I share how we start our seeds, I want to let readers know that I do think using soil blocks is an excellent way to start seeds indoors. I have never done it this way because of limited space and the fact that the method below works well enough for us. However, from what I read and have learned, soil blocking is an excellent option to consider. If you use soil blocking, we’d all love to hear about your experience and if you recommend it!
Also, I don’t use heating mats because I start my seeds in a climate controlled room. If you are starting seeds in a garage, basement, greenhouse, or in an area where temperatures regularly drop below 60 degrees, heating mats then become necessary.)
Before starting seeds, you need a space to put them inside. I’ve used a greenhouse before but currently we use a counter in our laundry room. I have two flourescent, shop lights with a “warm” bulb and a “bright” bulb in each. This light combo provides a broad spectrum of light that works out well for starting seeds. There are other options out there, including LED lights and specific “grow” lights. I like my way best. So does my wallet.
Aim to keep about 2 inches between the lights and the seedlings as they grow. The farther away the light is from your seedlings, the less light your seedlings will get. Shop lights come with chains for this purpose. Depending on your set up, additional chains may be needed.
I use a double outlet 24 hour timer to make sure the plants get the right amount of light: 18 hours of light 6 hours of darkness.
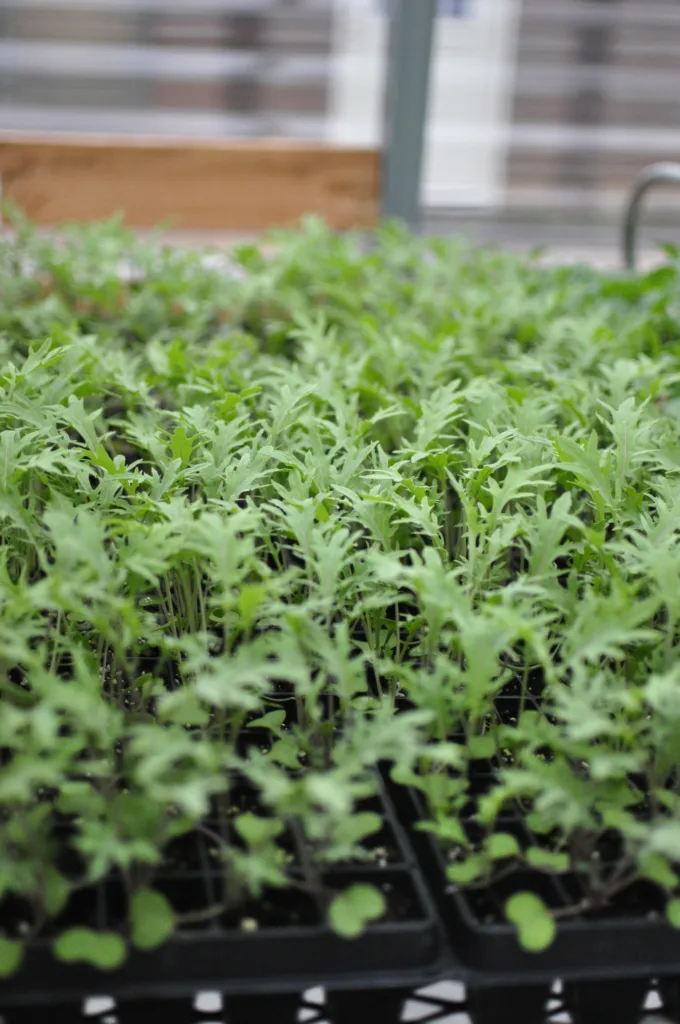
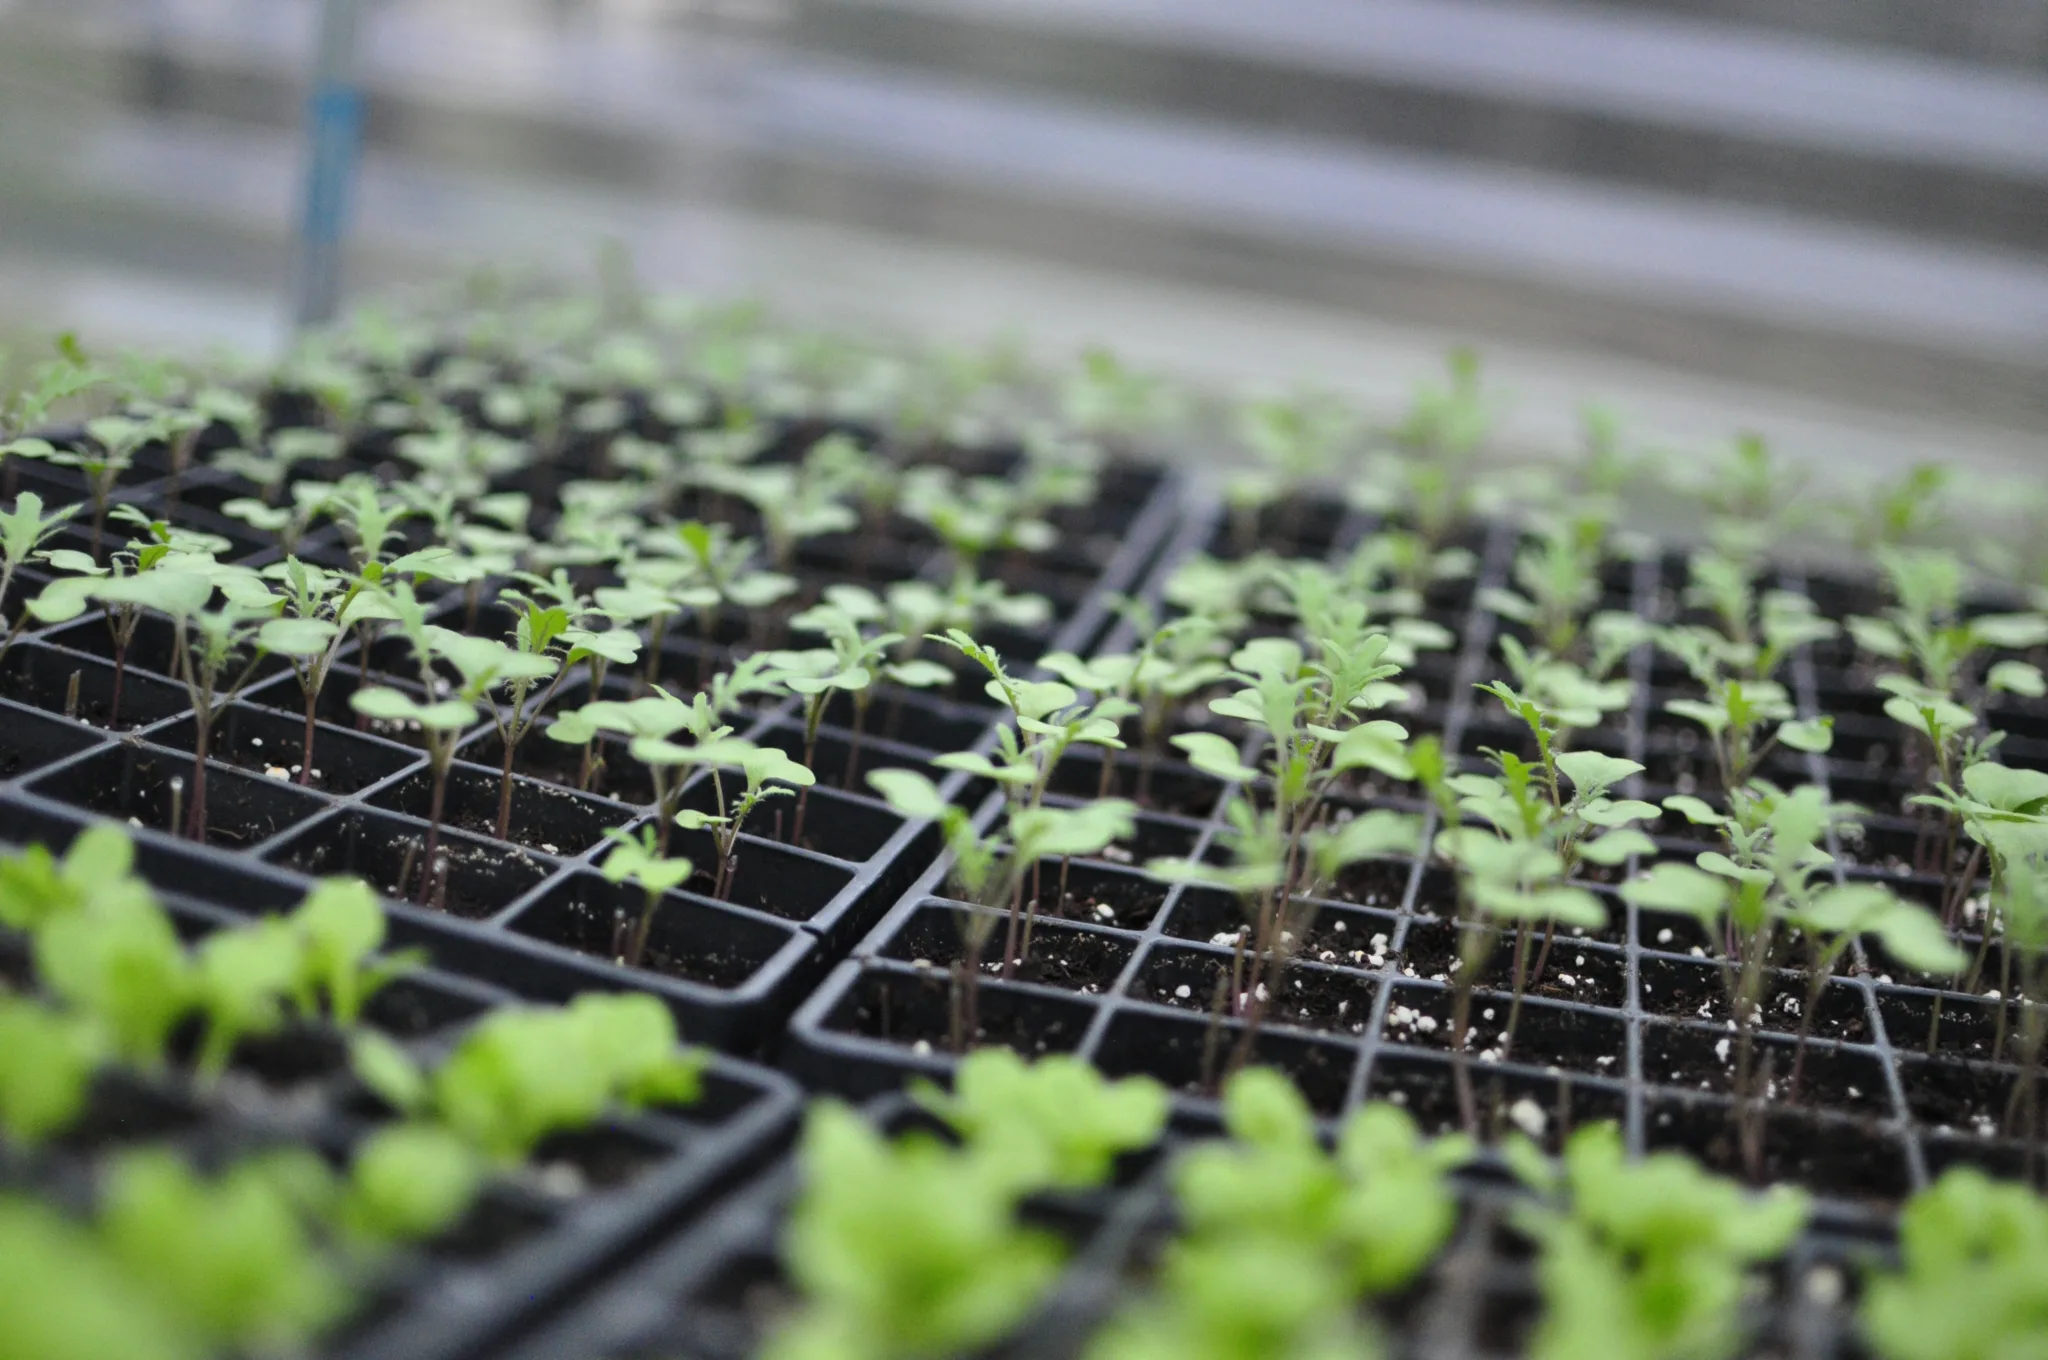
I start my seeds in a 72 cell seed starting flat. I usually dedicate a row or two to each variety of plant I want to grow and label each row. If you are using old trays, make sure they have been sanitized. I sanitize mine each year by dipping the flats in a bleach solution. After drying in the sun, I rinse them off really well and they are ready for action.
I fill the trays with a blended substrate that I never use an exact recipe for. “Pro-Mix BX” peat moss is the primary ingredient. Then I add some compost (bagged compost from a local store is fine), blood meal for nitrogen support, some rock dust for mineral support, and some mycorrhizal innoculant. Sometimes I will add some bone meal as well for a phosphorus boost.
The blend usually goes something like this:
- a gallon of fluffed peat moss
- half a gallon of compost
- a cup of blood meal
- 2 Tbsp of rock dust
- 1 tsp of mychorrhizal inoculant
I blend this up with my hands and fill the trays up.
This blend isn’t perfect, but it has suited me well enough for me to keep doing it all these years. If I were to purchase a seed starting mix, I would start and end with Fort Vee from the Vermont Compost Company. However, the cost is really prohibitive. With that in mind, if you are looking for the most simple path forward, get the Pro-Mix BX and some bagged compost and mix it at a 1.5 to 1 ratio. That should do the trick just fine! (In this newsletter and this newsletter I write about my terrible experience with buying a pre-mixed seeding mix.)
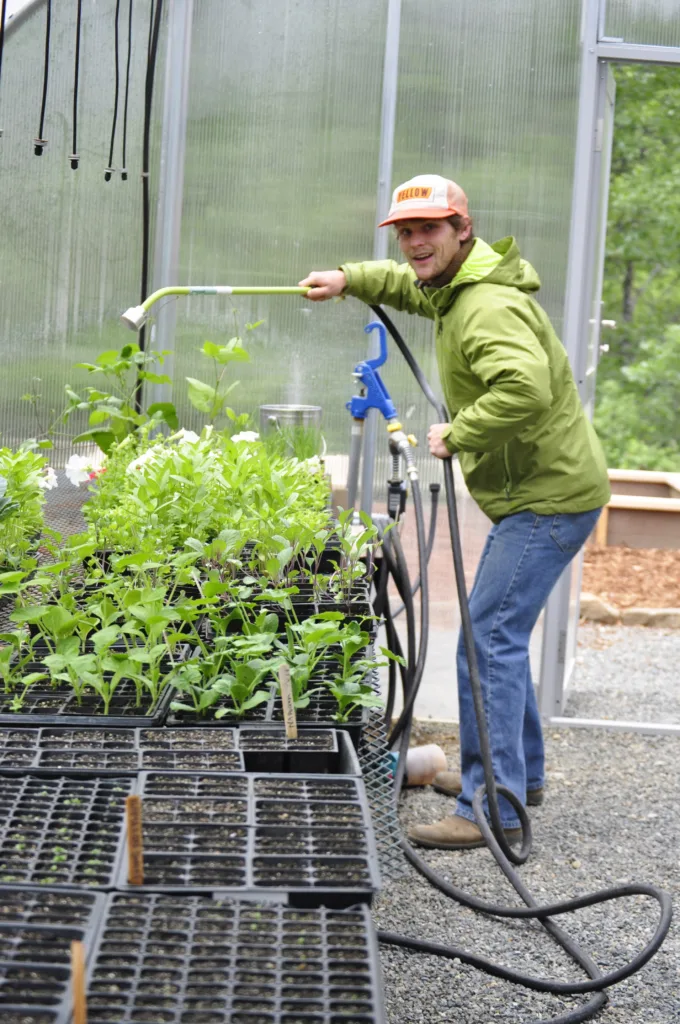
I usually try and place two seeds in each cell and water them in really well. Once seedlings sprout, the proper way to water is from the bottom. Which means you need a tray holder like this. I don’t always do this, but recommend it. If you water from the top, be gentle.
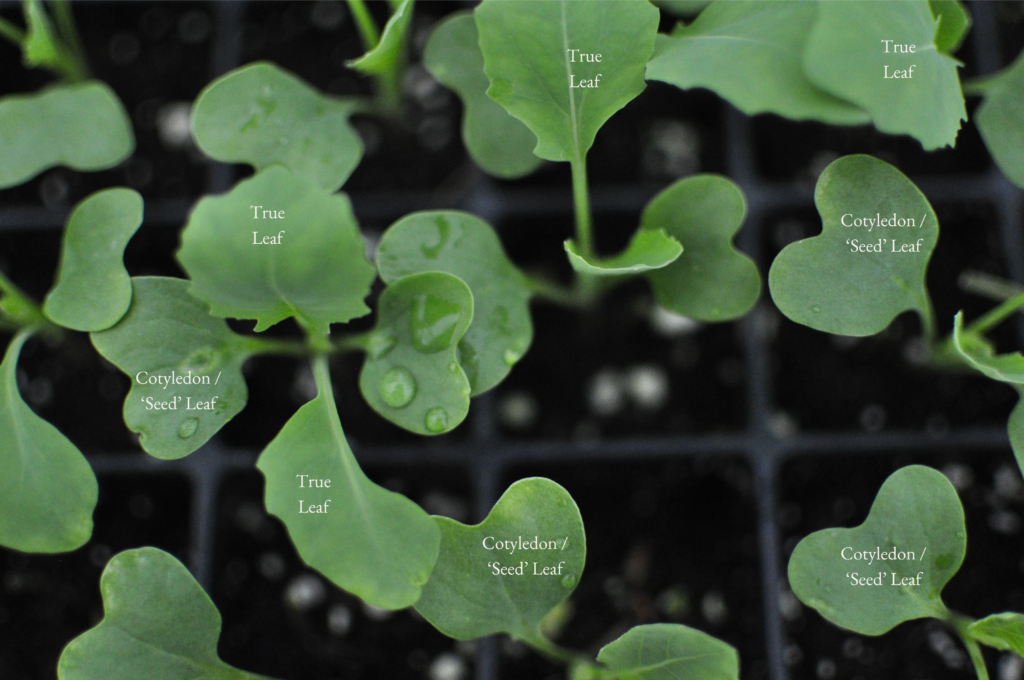
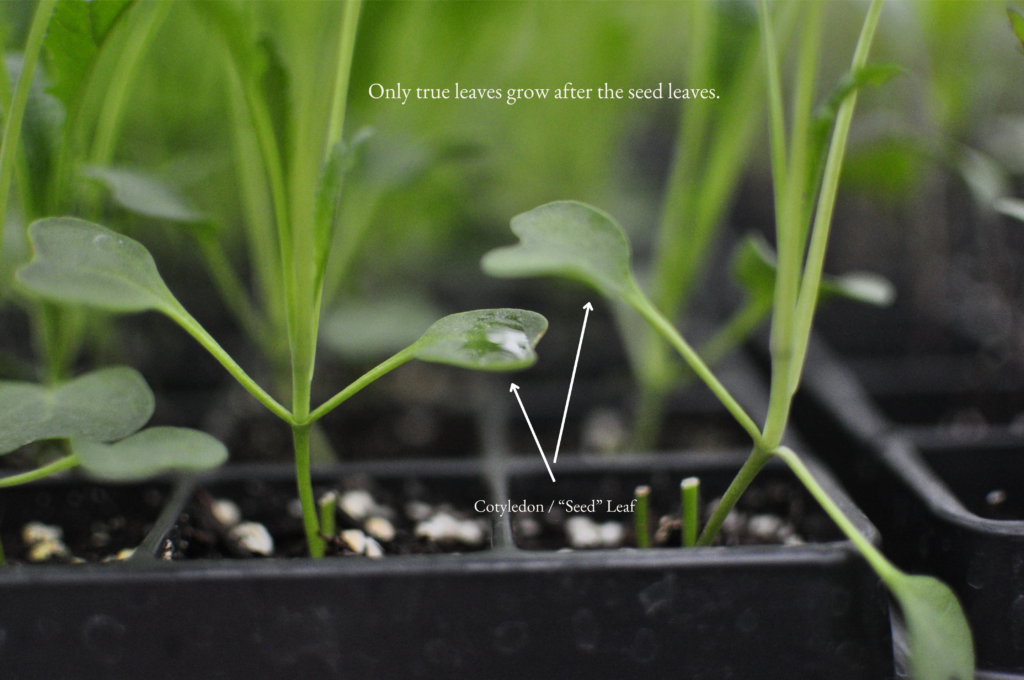
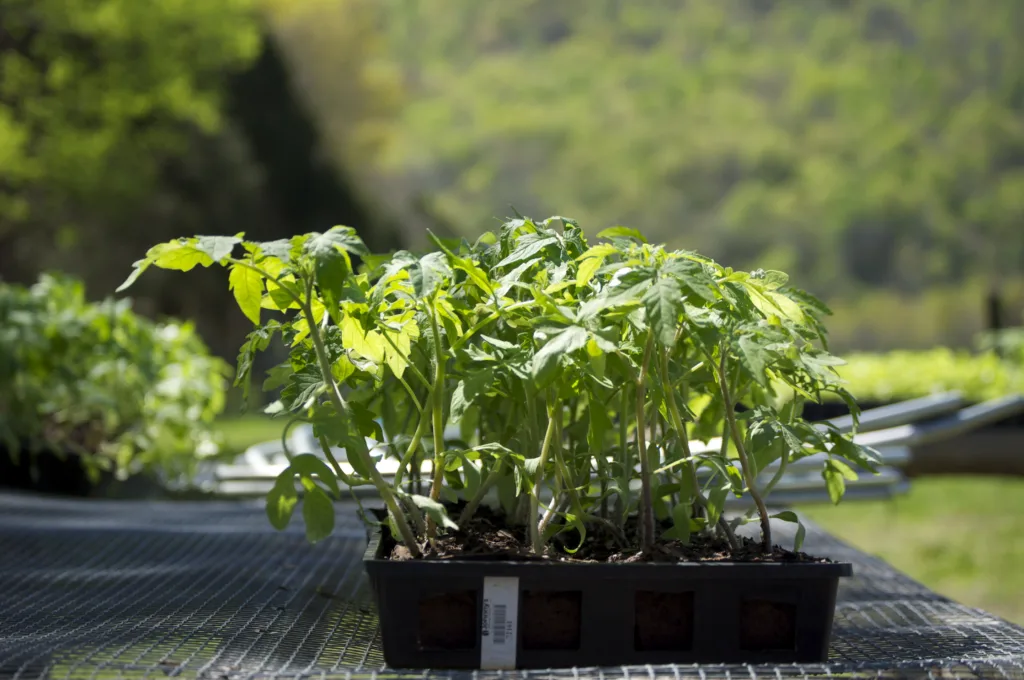
The seedlings will grow and once my seedlings have at least two, good-looking, ‘true’ leaves (as opposed to the initial two ‘seed’ leaves), I start thinking about hardening them off and getting them ready to transplant.
👇 I try and explain Cotyledons and ‘Seed’ Leaves in the podcast. Listen below. 👇
Hardening Off
‘Hardening off’ is the process of slowly acclimating the seedlings to the elements it will encounter once it is in the garden. This includes wind, direct sunlight, and fluctuating temperatures. This is critical and cannot be skipped. To harden off, place your seedlings outside for one hour. Avoid direct sunlight and windy periods to start. Repeat this for 5-7 days, increasing by an hour each day so that on day two they are outside for two hours; day three, three hours; etc. You want to baby them still. Avoid drastic temperature changes, heavy wind, heavy rain, and scorching direct sunlight. I have to set reminders up on my phone to bring the plants back inside each day. It is easy to forget. A shady spot at 10am might be a scorching spot by 12. It’s a bad feeling to make it so far with your seedlings and be so close to transplanting them into the garden only to kill them by forgetting to take them back inside or forgetting to water them. The soil in these trays will dry out quickly outdoors. Keep the transplants well watered throughout the hardening off process.
Planting in the Garden
Once the seedlings are hardenend off, it’s time to transplant into the garden. If I remember and am prepared, I like to do a root soak before transplanting. I think this helps minimize transplant shock and gives the young plants a little boost. To do this, I place the seedling trays in a liquid organic fertilizer made of fish meal or kelp. I’ll let it sit there until the soil is good and soaked. At that point I will pull out the tray and set it in the garden to rest and drain out excess liquid. Once this is complete, they seedlings are ready to be planted in the garden